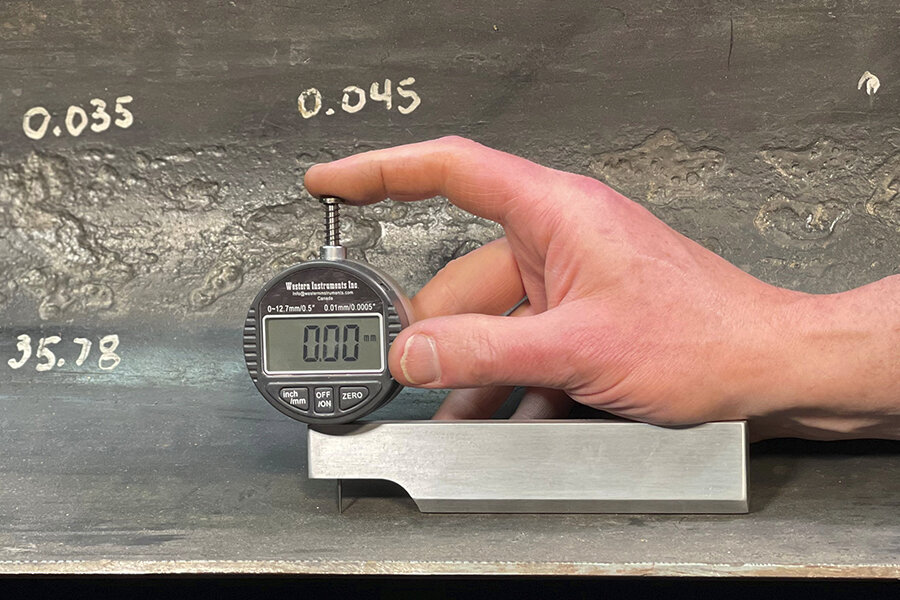
Reaching + Pit Gauge
Dial
Digital
The Reaching + Pit Gauge offers the equipment inspector many advantages over our Basic Pit Gauges (N88-2 or N88-3), with its Dial Indicator mounted at the end of the 152mm (6”) Blade, fitted with a long Cut-Away Nose. The Reaching + Pit Gauge, like all of our standard models, is supplied as a Kit (illustrated to the left). These Kits consist of; Dial Indicator (Metric, Imperial, or Digital), Reaching + Blade (Standard or Magnetic), Wooden Storage Case, Allan Key(s) for adjustments, Spare #2 Contact Point, Operator Instructions, and and the Reaching + Pit Gauge is offered in 6 different versions, which are divided by the standard models and the magnetic models. Like all of Western’s Pit Gauges, each is available with either Metric, Imperial, or Digital Indicators. The most significant advantage of the Reaching + offers the inspector, is the ability to span over areas of corrosion, referencing the original surface as the zero point. If a pit is Wide, Shallow, as defined by ASTM G46, the Blade of the Pit Gauge can reference the zero point (surface) and reach the Dial Indicator and Contact Point above the exposed area of the pit. Such a pit can be 300mm (8”) in diameter, if it is accessible from both sides. The inspector simply needs to maintain a reasonable contact and reference to parent material. Another significant feature on the Reaching + Pit Gauge is the Cut-Away Nose, which allows several extra capabilities. The Cut-Away Nose is 37mm (1½”) from the outer edge of the Blade to where it begins to contact the surface (zero). This Feature allows the inspector to measure corrosion at the Toe of a Weld. If the workpiece is configured with a Riser, Gusset, or Reinforcing Pad, the inspector simply rotates the Dial Indicator by 90°, re-zeros, and can measure up to 9.5mm (⅜”) from the obstruction. How much the Dial Indicator is rotated, does not affect the operation of the Pit Gauge. Lastly, the Reaching Pit Gauge can be used for Weld Inspection on Height and Depth parameters, such as Undercut, Weld Reinforcement, and Edge Alignment. The Reaching Pit Gauge can reach over an existing weld to confirm edge alignment and undercut.


